Cart 0

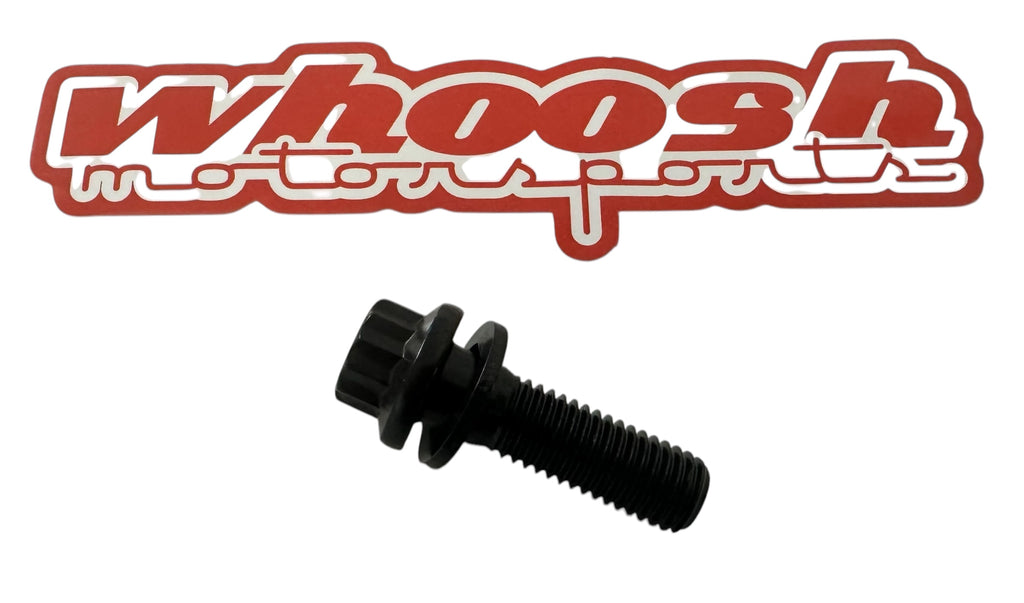
2014-2019 Fiesta ST Upper Engine Mount Bolt Upgrade Kit *FREE SHIPPING*

$ 15.99
<

Designed as a preventative measure for the common issue of the OEM upper passenger mount bolt failure.  The can happen when hard launching your Fiesta or when shifting aggressively. 

This kit can also be used for repair to your OEM mount as well.

To install this bolt correctly, the entire mount should be removed from the vehicle so the new upgraded bolt can be torqued to 50 ft./lbs. while holding the lower portion of the mount with another wrench.  Please add a small amount of Loctite 242 (blue) as well to the threads.  Failure to follow this procedure could result in damage to the liquid filled part of your mount.

Do not use an impact gun to install this bolt kit.

Each kit contains : 1 Extreme Strength ARP Bolt & Washer


Customer Reviews

Based on 6 reviews Write a review


More from this collection

Customer Reviews

Based on 6 reviews
100%
(6)
0%
(0)
0%
(0)
0%
(0)
0%
(0)
M
Mike C.
Easy enough.

I put this in just for piece of mind. It was easy enough to install. Not sure if you need to take the mount completely out. After moving the coolant reservoir and removing the headlight, you should be able to get a wrench on the lower portion of the mount. Either way it’s not a difficult job. $14.99 is cheap insurance.

D
Donovan
Rock Solid

This is a rock solid product and is fairly straight forward install. I recommend installing this with the PowerFlex PS insert.

Items required for install:
1. T-30 torx driver
2. Phillips driver
3. Plastic pry tool
4. Ratchet
5. 18 mm, 6-point socket
6. 14 mm, 12-point socket
7. Isopropyl Alcohol
8. Threadlocker
9. Torque Wrench (optional)
10. Impact gun (optional)
11. Beer

Instructions:
1. Remove the passenger-side headlight by disconnecting the harness on the back, removing two T-30 torx screws, one Philips plastic retainer, and tilting the headlight forward. Place the headlight in a safe location.
2. Remove the coolant reservoir by placing the pry tool between the plastic and metal tabs and lifting up. Do not disconnect the coolant hoses, just move the coolant tank out of the way where the passenger side headlight was.
3. Remove OEM bolt from mount using Ratchet and 18 mm socket. Optionally, an impact gun could be used.
4. Clean upgrade bolt threads with rubbing alcohol and allow to dry.
5. Apply threadlocker to threads.
6. Install upgraded bolt using ratchet and 14 mm, 12-point socket.
7. Torque to 98 ft-lbs in accordance with ARP (link below). There is no OEM torque value for this bolt.
8. Reinstall coolant tank into metal clips.
9. Reinstall passenger side headlight.
10. Drink a beer knowing that you have one less thing to worry about.

https://arp-bolts.com/kits/arpkit-detail-b.php?RecordID=3048

M
Michael Inrig
Cool

A very expensive, but extremely awesome upgrade.

B
Brandon
Easy install and cheap insurance

Avoid a broken factory bolt and upgrade today!

L
Leonard
Cheap insurance

This bolt is easy to install (provided you have a set of 12-point metric sockets and a 21mm box wrench) and gives great peace of mind. Don't wait until your PSMM bolt shears!